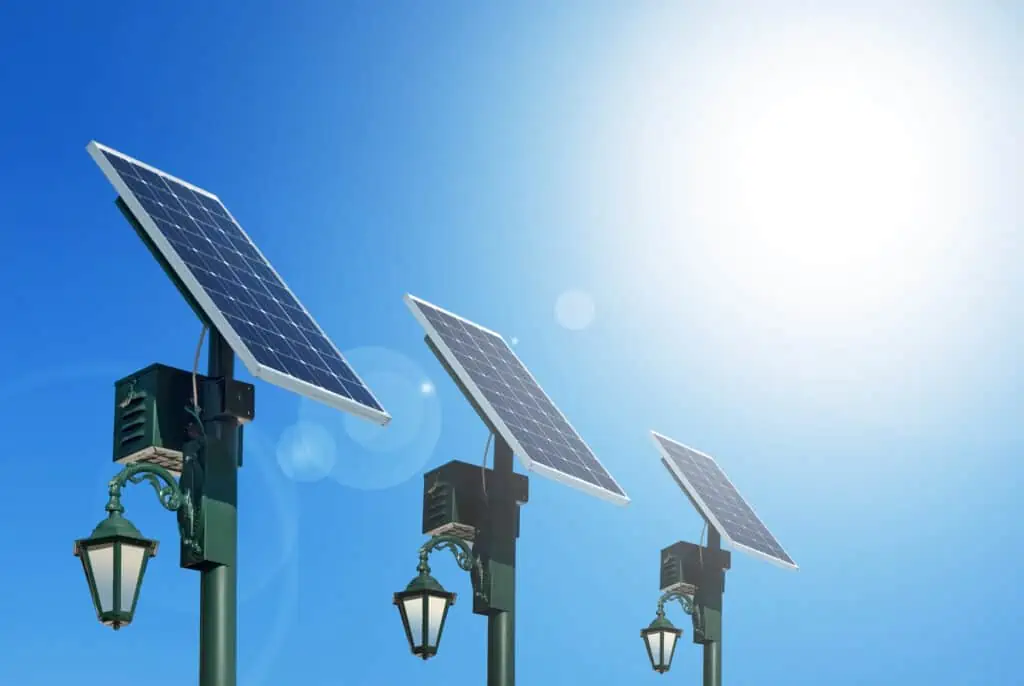
Some lights have long been adored for their simple, elegant charm and the inviting ambiance in our gardens and yards.
Not only are these outdoor lights a wonderful design feature, but they also serve an essential function—providing lighting that uses the clean, renewable energy of the sun.
To maintain their beauty and efficiency, however, a crucial aspect often gets overlooked: regular cleaning.
The following guide aims to educate you on how to clean the top of your solar lights, allowing them to function at their best while extending their lifespan.
Contents
- 1 Understanding the Structure of Solar Lights
- 2 Why Is Cleaning Necessary?
- 3 When to Clean Your Solar Lights
- 4 Preparations Before Cleaning
- 5 Step-by-Step Guide to Cleaning the Top of Solar Lights
- 6 Do’s and Don’ts of Cleaning Solar Lights
- 7 Maintaining Solar Lights for Optimal Performance
- 8 Frequently Asked Questions
- 8.1 Question #1: What is the best time to clean solar lights?
- 8.2 Question #2: How can I deal with stubborn grime on the solar panels?
- 8.3 Question #3: What should I do if there’s corrosion in the battery compartment?
- 8.4 Question #4: How often should I check the battery compartments?
- 8.5 Question #5: Can I use any kind of vinegar for cleaning?
- 8.6 Question #6: What if my solar lights are not working properly even after cleaning?
- 9 Troubleshooting Common Issues
- 10 Light Up Your Life
Understanding the Structure of Solar Lights
To appreciate the importance of cleaning your solar lights, first, it’s important to understand their basic structure.
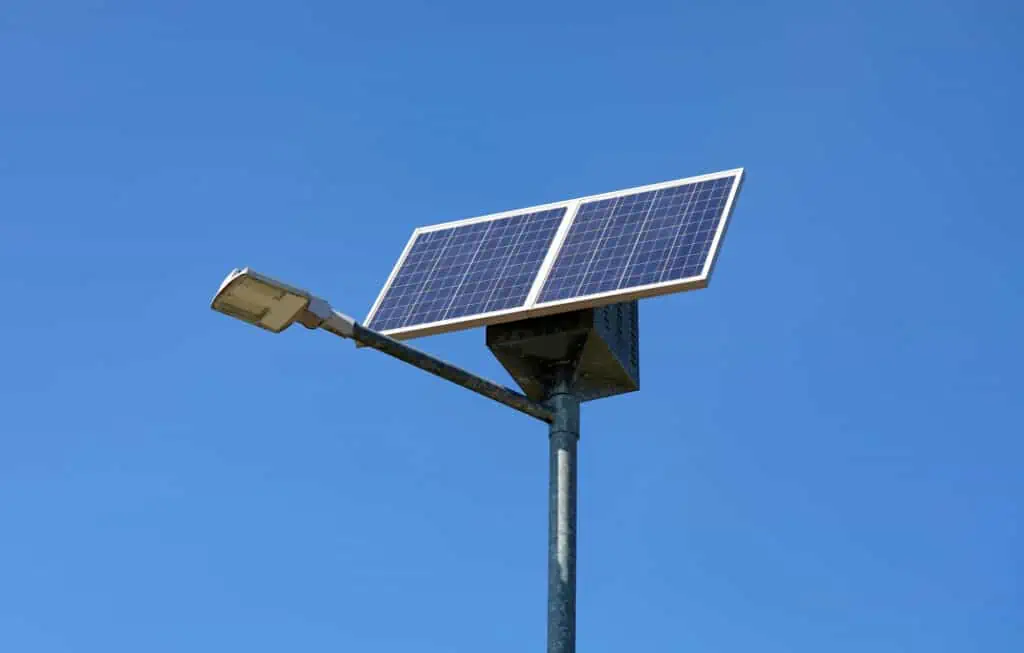
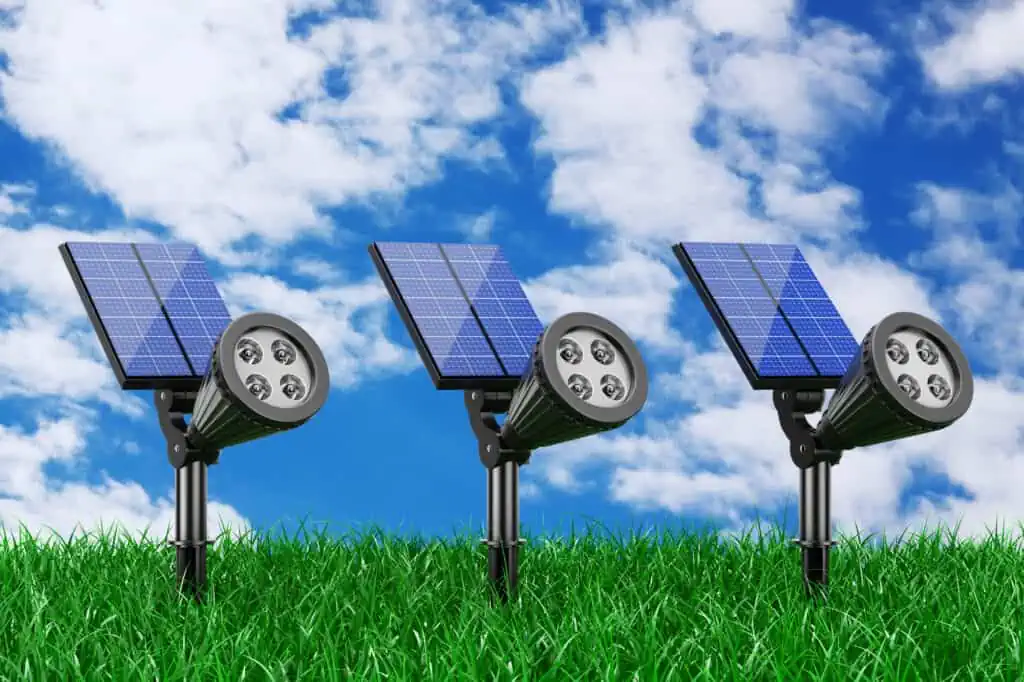
These outdoor lights typically consist of a light fixture, a battery, and a small solar panel on top.
This solar panel is where the magic happens. These solar cells absorb sunlight during the day, converting it into electricity that is stored in the battery for use after dark.
Why Is Cleaning Necessary?
The solar panel on top of your solar lights plays an important role in the overall functioning of the light.
But over time, dirt, dust, and even stubborn grime can accumulate on these solar panels, obstructing their exposure to sunlight.
This dirt buildup affects the solar panel’s ability to absorb sunlight efficiently, leading to dimmer lights or shorter periods of illumination.
Regular cleaning ensures the panels remain clear and absorb as much sunlight as possible.
Check out this article to learn how to clean your solar panels.
When to Clean Your Solar Lights
Regular cleaning is necessary for maintaining the efficiency of your solar lights.
But how often is “regular”?
It’s suggested that cleaning should be carried out at least once a month. However, this might vary depending on the local environment.
If your solar lights are under a tree or in a location prone to a lot of dust or bird activity, you might notice a faster dirt buildup. As such, you would need to adjust your cleaning schedule accordingly.
Preparations Before Cleaning
Before you begin the process, gather all the necessary tools. These should include the following:
- Soft brush
- Soft cloth
- Damp cloth
- Paper towel or dry cloth
- Water mixed with a mild detergent or a cup of vinegar (this serves as your cleaning solution)
Remember, safety comes first. Make sure you switch the lights off before you start cleaning to avoid any electrical mishap.
Step-by-Step Guide to Cleaning the Top of Solar Lights
- Carefully remove the solar light from its fixed location. Be gentle to avoid damaging any part of the light, particularly the solar panels.
- Start by dusting off any loose dirt or debris using a soft brush. This should be done gently to avoid scratching the panels.
- Once dusted, use a soft cloth to wipe the surface of the panels. If the panels are not too dry, this might be enough.
- For stubborn grime, dampen your cloth with your soapy water solution or a mix of water and vinegar. Wipe the panels gently in a circular motion until all the dirt is removed.
- Rinse the cloth with clean water, then wipe the panels again to remove any soap scum or residue.
- Use a cloth or paper towel to dry the panels thoroughly.
- Once completely dry, reinstall your solar light in its place. Ensure that it’s positioned to get optimal sunlight exposure.
Do’s and Don’ts of Cleaning Solar Lights
The Do’s
- Do use a soft brush or cloth: These gentle cleaning tools will help remove dirt without scratching your solar panels.
- Do use mild cleaning solutions: Warm water with a mild detergent or a cup of vinegar is usually sufficient to remove grime.
- Do dry thoroughly: After cleaning, ensure the lights, especially the solar panels, are thoroughly dried before installation. This is to avoid water damage.
- Do maintain a regular cleaning schedule: Whether monthly or more often, consistent cleaning helps maintain the efficiency of your solar lights.
The Don’ts
- Don’t use abrasive cleaning tools: Scrub brushes or rough tools can scratch the solar panels, impacting their ability to absorb sunlight.
- Don’t use harsh chemicals: These can damage the solar panels and other components of your solar lights.
- Don’t rush the drying process: Allow the solar lights to dry completely before reinstalling to avoid water-related damage.
- Don’t neglect regular cleaning: Even if your lights seem fine, dirt can accumulate over time and gradually affect their performance.
Maintaining Solar Lights for Optimal Performance
Aside from regular cleaning, other maintenance practices will help ensure the longevity and optimal performance of your solar lights.
Check the battery compartments from time to time for any signs of battery corrosion or damage.
If the battery is not in good condition, it might need to be replaced.
Moreover, during the cleaning process, make sure to remove any excess water, as this can lead to damage.
Frequently Asked Questions
Here, we answer some common queries about cleaning and maintaining solar lights:
Question #1: What is the best time to clean solar lights?
Answer: The best time to clean your solar lights is during the day, particularly in the morning. This gives them ample time to dry completely before they operate in the evening.
Question #2: How can I deal with stubborn grime on the solar panels?
Answer: For stubborn grime, use a soft cloth dampened with a mild detergent solution or a mixture of water and vinegar. Gently rub in a circular motion until the grime is removed.
Question #3: What should I do if there’s corrosion in the battery compartment?
Answer: If you notice corrosion in the battery compartment during your cleaning process, you might need to replace the batteries. In some cases, cleaning the corrosion with a soft cloth or brush might help, but ensure to completely dry the compartment before inserting new batteries.
Question #4: How often should I check the battery compartments?
Answer: It’s a good idea to check the battery compartments every few months or whenever you notice a decrease in light output. This can help you identify any issues early and take the necessary action.
Question #5: Can I use any kind of vinegar for cleaning?
Answer: Typically, white vinegar is recommended as it doesn’t leave any coloration or residue on the solar panels. But make sure to dilute it with an equal amount of water to avoid any potential damage.
Question #6: What if my solar lights are not working properly even after cleaning?
Answer: If your lights are still not performing well after cleaning, there could be other issues at play. These could range from battery problems to placement issues that limit their exposure to sunlight. In such cases, it might be best to consult with a professional or the manufacturer.
Troubleshooting Common Issues
Even with diligent cleaning and care, solar lights might face issues that can affect their performance. This section will guide you through common problems and provide practical solutions.
- Dim lights: If your lights are dimmer than usual, it may be due to dirty panels, a battery issue, or the light’s location. Begin by cleaning the panels thoroughly. If the issue persists, check the battery and the light’s position. It should receive enough sunlight during the day.
- Short lighting time: If your lights don’t stay lit for long, the battery might not be getting fully charged. Clean the panels, and make sure the light isn’t in a shaded area during the day.
- No light: If your solar light isn’t turning on at all, check the battery and the switch. Sometimes, the issue can be as simple as the switch being turned off.
- Flickering light: Flickering can be a sign of a poor connection. Check the battery and ensure it’s properly connected and in good condition.
Light Up Your Life
Having well-maintained, efficient solar lights can truly enhance the ambiance of your outdoor space. We hope this comprehensive guide will illuminate the path to maintaining your solar lights, allowing them to glow brightly night after night.
Remember, taking care of your solar lights is not a once-and-done task. It’s an ongoing process, much like the sun that powers them.
By incorporating these steps into a regular cleaning schedule, you’ll ensure they continue to light up your life efficiently.
For those who are eager to learn more about solar energy and how to make the most out of your solar products, we invite you to look into more of our articles. If you’re considering exploring other solar solutions, our contents are a great place to start.
Happy reading, and may your future be bright and eco-friendly!


